7/15/10

Part 2: Finished Painting--Lessons Learned The Hard Way


"Sunflower Morning"  12" x 36" Watercolor mounted on Gallery Wrapped Canvas.                                        


Finished...Notice how I camouflaged the area where the Butterfly had been removed. The difference here between saving a painting and needing to start totally over lies in being fast with ingenuity, and  the ability to camouflage. For a successful camouflage, placement within overall painting is key. Because this work is long and narrow, the placement was a natural for adding a spot of dense background into offending area. However, had it been that same size area, say, closer to the bottom, my problem would have been a great deal more complicated. 

Adding another Sunflower in the spot would have been out, as it most certainly was here! Why? Well because the bruised and firmly washed paper would not have taken paint in the same way, and with the same precision of placement already applied in Sunflower blossoms. Therefore something totally different  applied here was being called for...  Had offending area actually been lower, I probably would have place the  stone wall much lower in composition, and gone from there. 

This is both the value and the pitfalls of following your muse while Painting, rather than going through all of the steps of planning, sketching, using a layout, etc. as one approaches every new piece.

7/10/10

Part 1: Lessons Learned The Hard Way


Part 1:
Ok ladies and germs, as a used to was stand-up often said, I mounted my paper before painting this time. On a 12" x 36" gallery wrap no less! And yes, predictably, half way through the composition, I do not like the painting! Ok, again, because of an earlier 'experiment', which is detail in a previous blog, all is not lost, I can soak and remount with paper in order to start fresh. But, also predictable...IT WOULD HAVE BEEN SOOOOO MUCH EASIER IF I HAD NOT MOUNTED IT BEFORE I STARTED PAINTING!!!!!!

And that is my 'rant' for the day. Aren't you glad you were able to join me in this?

So, lesson learned here, paint before mounting onto gallery wrapped canvas, thus saving your valuable and limited time that is allotted for painting, money, and temper!


 Here is the painting in progress run-a-muck.  Have already washed out offending butterfly that just did not fit in. Am not really sure that I like where any of it is going, but will invest a little more time, and paint while longer before using Gesso over the whole painting and giving up!

7/5/10

Texas Girl Paints Her Texas Sunflower's:


"Texas Sunflower plein air painting in my yard today!"

                                          
Just had to share this one with everyone, as most of you know that I paint lots of Sunflower's as well. This is a Texas girl's idea of plein air painting, can you believe it? Her name is Nancy Medina, and for the nor-artists among you, plein air painting means painting outside, or right on site, as in landscapes. But this is taking it to the um-tee-nth degree, I'd say for sure!

Way to go Nancy! Hat's off to plein air!

6/29/10

My First 9"×12" Watercolor Mounted on Canvas:

Well, my idea was that by painting on a smaller format, I might be able to accomplish a Painting A Day, which I have always admired!

Dream on, right?
First of all, this image is too dark and does not do painting justice. That said, I just cannot say that I really enjoyed the process of painting as I normally would. That right there will stop me from painting further pieces of this size. Of course, to be fair, I had already stretched and mounted the paper here onto Gallery Wrapped Canvas, which made a difference in size right off of the bat! But found that the size made selective glazing more difficult as well, and may have been trying to make up for lack of size by adding way too much information.

So, it does seem that 12"×12" will be as small as I go. Now, need to work on being able to paint one of these in the space of one day. Will not included mounting time in there however, which will help.


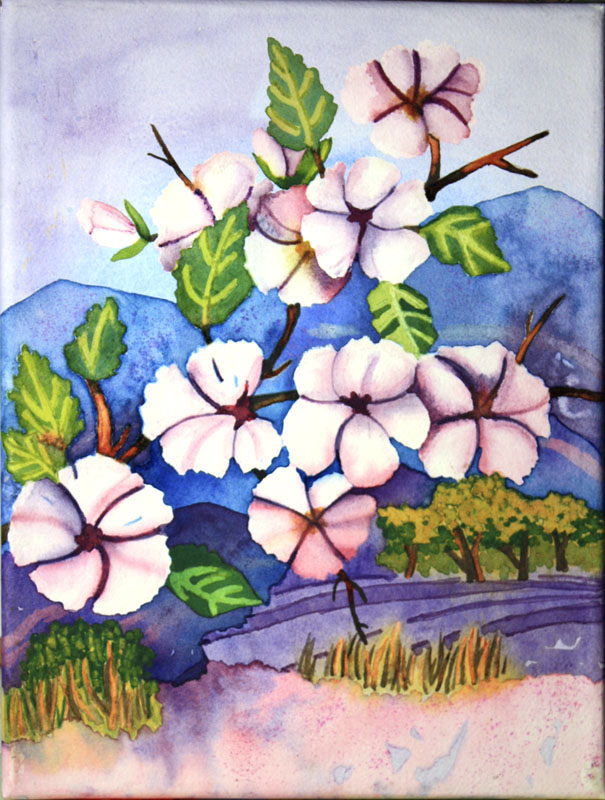
BLOSSOM TIME
9"×12" Watercolor on Paper Mounted onto Canvas.

6/14/10

Finished Watercolor Mounted On Canvas: "Lillies & Cups"

This Still Life has been a great deal of fun to complete, actually much to my own surprise! This is not where I had intended to go at all! Just shows you where the Painting itself can lead if you are alert enough to follow.

I had intended a clear vase, with lots more foliage going on in negative painting. This background was intended as the first layer for more glazes to follow. However, with a little help from my friends, the Painting spoke to me, leading in a very different direction. Have to admit, I was almost too stubborn to listen.  

Am simply not used to so few areas focus competing for attention in one of my pieces, with so much quiet space overall. But also must admit that I do like this work quite a lot.

"LILLIE'S & CUPS" Watercolor
18"X24"X3/4" Gallery Wrapped Canvas

CLICK HERE TO BID

6/9/10

Watercolor on Art Board Work In Progress: "Tiger Lillie's"

"Tiger Lillie's" in progress. This is as far as I had gotten before leaving my studio to visit with some friends. Then ended up taking a nap, and getting table ready for dinner. When I did walk back into my studio, faced with this still in place on my work table, it struck me as really cool. Even hesitated for a while, thinking that perhaps the piece was, in fact, finished! 

But no, have come to my senses and realize that my original direction was correct, and the painting really needed more. Guess I was temporarily blinded by the yellow halo! LOL!

6/3/10

Another New Method To Mount Watercolors: "Lillies & Blocks"


This is an 20x30 Archers Art Board. This art board is Arches paper on rigid, archival backing. The paper is mounted on white, acid-free, archival conservation board, making the board durable, rigid, and easy to work with.

Now, I am going to mount this archival board onto an 18x24 Gallery Wrapped Canvas, which I am using strictly because this is the size I have on hand! In other words, yes, I will lose some of the painting, which I hate! However, I would hate waiting a week or so for delivery on the proper sized canvas, not to mention additional cost. Since 20x30 is not a standard size traditionally offered in Canvas, I would have to pay extra, and wait longer, for special order delivery.

The initial mounting will be the same as with mounting of paper. However, additional steps will be much different, and will take photo's as I go. Suffice it to say that this is a work in progress, which will be posted over a period of 3 to 4 subsequent days.
_____________________________________________________________________________________________

STEP 1: FULLY MOUNTED WITH A NICE TIGHT WELD.
This means being very sure to have your weights extending well over edge of Canvas below in order to make sure paper welds tightly clear to all corners and edges.

I used the same Golden's Soft Gel, straight from the jar, that I use for mounting watercolor paper. The main difference is that I do not flood this back board as I do the straight paper. One reason to not use as much water is because this board will not soak water up as does the paper. The board would only get over wet, and perhaps even soggy rather than saturated.


STEP 2: CHECKING THE WELD
This is the time to find and fix any edges needing help. It small areas along outside edges are not tightly welded to canvas simply add a touch more Golden's Gel, pushing it into cavity with a paint brush. Flip painting back onto clean solid surface, face down, and add some weights along affected edge. The weld will mend in 4 to 5 hrs. I usually give it plenty of time to dry, just in case.


_____________________________________________________________________________________________
STEP 3: GETTING A CLEAN CUT
Box cutter, fresh sharp blade . . . this will not be as easy as a one stroke cut here, but should not take more than 3 good, firm passes either. If any edges simply refuse to get close enough for a clean finish, use rough sand paper to smooth down until all edges are even.

_____________________________________________________________________________________________

STEP 4: PAINT OUTSIDE EDGE. . .& FINISHED

The mounting went wonderfully fine, no problems to report to watch out for. I did have find painting the very outside edge of the Art Board. The slowdown was in painting this was, however, due to my own oversight. I had let myself run out of artists tape and could therefore not place it over outside of my painting, right along on top of cut, before attempting to apply paint. The Art Board leaves a narrow strip of white where it has been trimmed, and without the artists tape to protect the painting, it becomes a slow task of applying Acrylic to outside edge of canvas. But I did it!!! Just would have been much easier with tape.

5/27/10

How Strong Is It? No Really . . .


Just for my own information I soaked one of my mounted watercolor paintings in a bathtub of water, and left it floating on top overnight. Not even a smidgen of paint soak off into the water, nor did any of the paper loosen from the canvas.

So, I then drowned it totally with water, filling the back side with water as well. The entire canvas was weighted down and under water, again leaving it overnight. This time, paper did begin to bubble up from off of canvas backing where it was beginning to loosen. But it took the water actually penetrating through the canvas, back to front, for paper to move.

This photo is what was left of the original watercolor paper, which had been mounted onto Gallery Wrapped Canvas, after I worked at stripping paper off. And believe me, it did take work . . .

P.S. Painting I used for this test had already been ruined during process of painting. Just decided to mount and test for the purpose of seeing how strong these Watercolor's mounted onto Canvas actually are.

5/24/10

Newest Mounted Watercolor: "LILLIES & LILAC'S"

This is an Original Watercolor Painting on 140 lb Arches Watercolor Paper mounted on 1.5" deep Gallery Wrapped Canvas, which is the latest custom method Watercolor presentation.


"Lillies & LiLac's" 12"x12"x1.5" Watercolor
CLICK ON TO PLACE BID