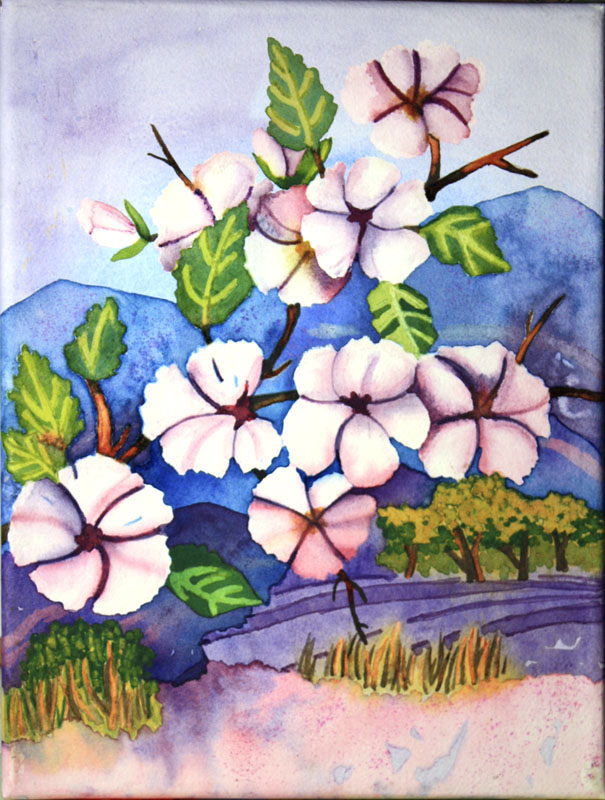
This is an 20x30 Archers Art Board. This art board is Arches paper on rigid, archival backing. The paper is mounted on white, acid-free, archival conservation board, making the board durable, rigid, and easy to work with.
Now, I am going to mount this archival board onto an 18x24 Gallery Wrapped Canvas, which I am using strictly because this is the size I have on hand! In other words, yes, I will lose some of the painting, which I hate! However, I would hate waiting a week or so for delivery on the proper sized canvas, not to mention additional cost. Since 20x30 is not a standard size traditionally offered in Canvas, I would have to pay extra, and wait longer, for special order delivery.
The initial mounting will be the same as with mounting of paper. However, additional steps will be much different, and will take photo's as I go. Suffice it to say that this is a work in progress, which will be posted over a period of 3 to 4 subsequent days.
_____________________________________________________________________________________________

STEP 1: FULLY MOUNTED WITH A NICE TIGHT WELD.
This means being very sure to have your weights extending well over edge of Canvas below in order to make sure paper welds tightly clear to all corners and edges.
I used the same Golden's Soft Gel, straight from the jar, that I use for mounting watercolor paper. The main difference is that I do not flood this back board as I do the straight paper. One reason to not use as much water is because this board will not soak water up as does the paper. The board would only get over wet, and perhaps even soggy rather than saturated.
STEP 2: CHECKING THE WELD
This is the time to find and fix any edges needing help. It small areas along outside edges are not tightly welded to canvas simply add a touch more Golden's Gel, pushing it into cavity with a paint brush. Flip painting back onto clean solid surface, face down, and add some weights along affected edge. The weld will mend in 4 to 5 hrs. I usually give it plenty of time to dry, just in case.


_____________________________________________________________________________________________
STEP 3: GETTING A CLEAN CUT
Box cutter, fresh sharp blade . . . this will not be as easy as a one stroke cut here, but should not take more than 3 good, firm passes either. If any edges simply refuse to get close enough for a clean finish, use rough sand paper to smooth down until all edges are even.


_____________________________________________________________________________________________

STEP 4: PAINT OUTSIDE EDGE. . .& FINISHED
The mounting went wonderfully fine, no problems to report to watch out for. I did have find painting the very outside edge of the Art Board. The slowdown was in painting this was, however, due to my own oversight. I had let myself run out of artists tape and could therefore not place it over outside of my painting, right along on top of cut, before attempting to apply paint. The Art Board leaves a narrow strip of white where it has been trimmed, and without the artists tape to protect the painting, it becomes a slow task of applying Acrylic to outside edge of canvas. But I did it!!! Just would have been much easier with tape.